Stay Secure App Cancel Subscription [Step by Step]

If you need to stop recurring charges from the Stay Secure app or service, the process is straightforward once you know where to look. Many users sign up for the $19.95 monthly plan and later decide to cancel.
This guide walks you through the official cancellation options, what happens after you cancel, and practical steps to confirm the charge has stopped.
What Is the Stay Secure Subscription?
Stay Secure markets itself as an all-in-one privacy platform.
Core features include real-time antivirus and anti-phishing tools, a built-in VPN with multiple server locations, tracker and fingerprinting protection, dark web monitoring for personal data, document scanning and encryption, and webcam/microphone blockers.
The standard plan is billed at $19.95 every 30 days. An optional ToolPower+ add-on is available for $9.95 per month to existing subscribers.
Subscriptions renew automatically unless canceled before the next billing date. You keep full access until the end of the current paid period after cancellation.
Charges typically appear under stay-secure.app or a related billing name. Always check your bank or card statement for the exact descriptor so you can match it to the correct account.
How to Cancel Stay Secure Subscription Through Your Account
The official help center recommends starting with your online account.
- Go to stay-secure.app and log in with the username and password you used when you signed up.
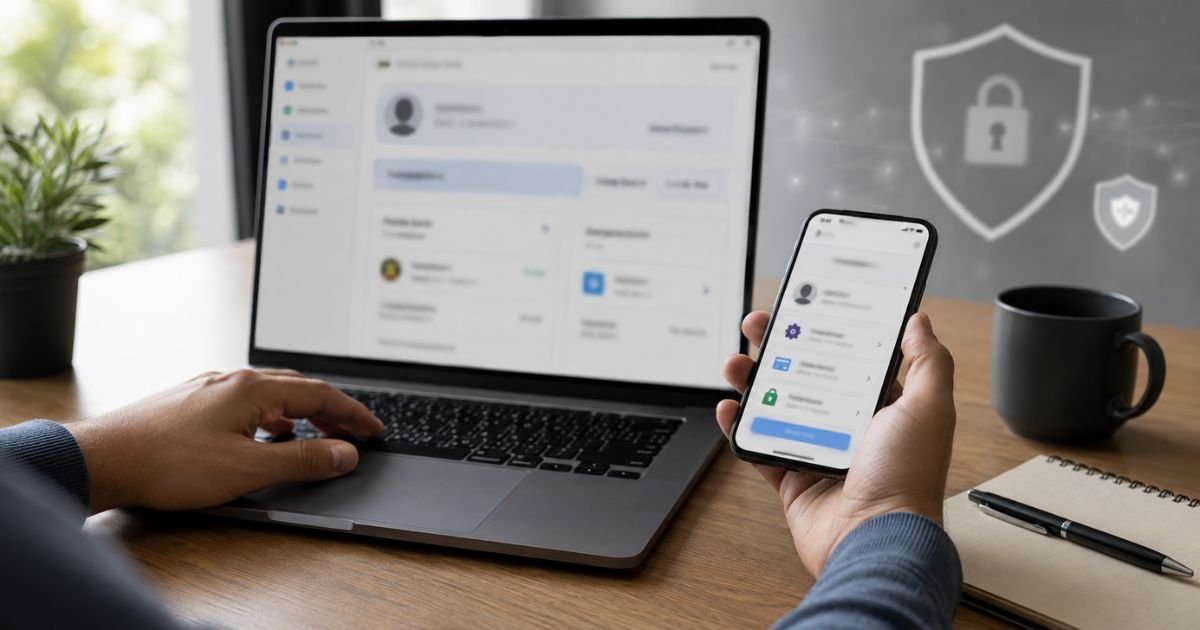
- Click the profile icon in the top right corner and select “My Account.”
- Look for the “Your Subscription” or similar section that shows your plan status, next billing date, and management options.
- Follow any on-screen instructions labeled cancel subscription, manage subscription, or stop renewal.
If the cancel option is visible and works, complete the prompts and save any confirmation email or screenshot.
How to Cancel by Contacting Support
If you cannot find a self-service cancel button or run into login issues, contact the support team directly. This is the method the help center explicitly recommends for billing problems or membership cancellation.
- Phone: +1 866 972 2067
- Hours: 9 AM – 9 PM EST, Monday through Sunday
- Email: cs@stay-secure.app (available 24/7)
- Live chat: Available 9 AM – 9 PM EST, English and French
When you reach out, provide:
- The email or phone number linked to the account
- Approximate sign-up date or recent charge amount
- A clear request to cancel the subscription and stop future billing
Ask for written confirmation of the cancellation and the exact end date of access. Keep the email thread or note the agent’s name and time of the call.
According to the terms, you may also send an unambiguous written cancellation statement to the support email listed in your account or welcome materials.
What Happens After You Cancel
Cancellation takes effect at the end of the current billing cycle. You will not receive a prorated refund for unused days in most cases. Access to the software and features continues until that period ends. After that date the subscription does not renew and future charges should stop.
You should receive an electronic receipt or confirmation for each successful charge while the plan is active. After cancellation, monitor your statements for one or two full billing cycles to confirm no further charges appear.
Canceling If You Subscribed Through Apple or Google
Some users may have signed up through an app store rather than the website. In that case the subscription is managed by Apple or Google, not the Stay Secure account page.
On iPhone or iPad
- Open Settings and tap your name.
- Tap Subscriptions.
- Select the Stay Secure or related entry.
- Tap Cancel Subscription and confirm.
On Android
- Open the Google Play Store app.
- Tap your profile picture.
- Go to Payments & subscriptions > Subscriptions.
- Select the subscription and tap Cancel subscription.
Follow the prompts until you see confirmation. Access continues until the paid period ends. Uninstalling the app alone does not cancel the subscription.
Tips for a Smooth Cancellation
- Cancel at least a few days before the next billing date so the request processes before the charge.
- Save screenshots of the account page, confirmation emails, and any chat transcripts.
- Search your email (including spam) for “stay-secure,” “staysecure,” or the charge amount to locate past receipts and the original welcome message. That message often contains the exact provider name and support details.
- If login fails or the account page shows no cancel option, use the phone number or email right away rather than waiting.
- After cancellation, check the next one or two statements. If a charge still appears, contact support again with the confirmation details and, if needed, dispute the charge with your bank or card issuer using the proof you saved.
Common Problems and How to Handle Them
Some users report difficulty locating a clear cancel button or reaching support quickly. In those cases the phone line during business hours or a direct email with “Cancel subscription – account [your email]” in the subject line is the most reliable route.
If the charge descriptor on your statement does not match “Stay Secure” exactly, search the amount and date online or contact your bank for the merchant name. Then use that name when speaking with support.
Password changes are currently not available through the account settings according to the help center. If you cannot log in, use the contact options and request assistance with account access as part of the cancellation request.
Only one account is allowed per mobile number or email address, so make sure you are using the correct credentials.
Alternatives and Next Steps After Canceling
Once the subscription ends you may want basic free tools such as the built-in Windows Defender or macOS security features, a reputable free antivirus, or a separate low-cost VPN if you still need one. Review any residual software on your devices and uninstall the Stay Secure programs if you no longer want them.
Update passwords for important accounts and enable two-factor authentication where available. This is good practice regardless of which security suite you use.
FAQs About Stay Secure App Cancel Subscription
Q: Will I get a refund when I cancel Stay Secure?
Most cancellations provide access through the end of the paid period only. Prorated refunds are not standard. Contact support if you believe you qualify for an exception under the terms or local consumer rules.
Q: How long does it take for the cancellation to stop charges?
Once confirmed, the subscription ends at the close of the current 30-day cycle. Future automatic charges should stop. Monitor your statements for confirmation.
Q: What if I cannot log into my Stay Secure account?
Use the phone number +1 866 972 2067 during support hours or email cs@stay-secure.app. Provide the email or phone number associated with the account and clearly request cancellation.
Q: Does uninstalling the app cancel the subscription?
No. You must cancel through the account page, support channels, or the relevant app store. Uninstalling only removes the software from the device.
Conclusion
Canceling a Stay Secure app subscription is best done by logging into your account on stay-secure.app and using the My Account section, or by contacting support directly at +1 866 972 2067 or cs@stay-secure.app.
You keep access until the end of the billing period you already paid for, and automatic renewals stop once the cancellation is processed.
Take a few minutes to save confirmation details and check your next statements. That simple follow-through protects you from unexpected charges and gives you a clear record if any questions arise later.
Disclaimer: This article provides general educational information based on publicly available help center and terms details at the time of writing. Subscription processes, pricing, and support contacts can change. For your specific account, always follow the official Stay Secure channels or the platform (Apple or Google) that processed the original purchase. Contact your bank or card issuer if needed for charge disputes.